#01. 설치 전 사전 준비 사항
Visual C++ 이 설치되어 있어야 한다
Visual Studio 2010, Visual Studio 2012 모두 설치하도록 하자

설치 대상 윈도우 장비에 백신 소프트웨어가 동작 중이라면
설치 진행하기 전에 해당 백신 소프트웨어를 비활성화 처리해야 한다.
백신으로 인해 문제 생기는 경우가 종종 있다고 하니 꼭 체크하도록 하자.

상세 내용은 아래 URL 에서 확인
#02. 설치파일 준비
1. Visual Studio 2010
2. Visual Studio 2012
3. OHS 설치파일

#03. OHS 설치
Visual Studio 2010, Visual Studio 2012를 각각 설치한다
서버 엔진 설치는 silent 모드로 가능하다.
install_ohs.rsp 파일을 생성한다.
ORACLE_HOME 옵션에 ohs 설치 경로를 입력한다.
JDK_HOME 옵션은 {ORACLE_HOME}/oracle_common/jdk/jre
[ENGINE]

#DO NOT CHANGE THIS.
Response File Version=1.0.0.0.0

[GENERIC]

#Set this to true if you wish to skip software updates
DECLINE_AUTO_UPDATES=true

#My Oracle Support User Name
MOS_USERNAME=

#My Oracle Support Password
MOS_PASSWORD=<SECURE VALUE>

#If the Software updates are already downloaded and available on your local system, then specify the path to the directory where these patches are available and set SPECIFY_DOWNLOAD_LOCATION to true
AUTO_UPDATES_LOCATION=

#Proxy Server Name to connect to My Oracle Support
SOFTWARE_UPDATES_PROXY_SERVER=

#Proxy Server Port
SOFTWARE_UPDATES_PROXY_PORT=

#Proxy Server Username
SOFTWARE_UPDATES_PROXY_USER=

#Proxy Server Password
SOFTWARE_UPDATES_PROXY_PASSWORD=<SECURE VALUE>

#The oracle home location. This can be an existing Oracle Home or a new Oracle Home
ORACLE_HOME=D:\GTPLUS\ohs12214

#The federated oracle home locations. This should be an existing Oracle Home. Multiple values can be provided as comma seperated values
FEDERATED_ORACLE_HOMES=

#Set this variable value to the Installation Type selected as either Standalone HTTP Server (Managed independently of WebLogic server) OR Collocated HTTP Server (Managed through WebLogic server)
INSTALL_TYPE=Standalone HTTP Server (Managed independently of WebLogic server)

#The jdk home location.
JDK_HOME=D:\GTPLUS\ohs12214\oracle_common\jdk\jre
설치 명령어
setup_fmw_12.2.1.4.0_ohs_win64.exe -silent -responseFile ...\install_ohs.rsp
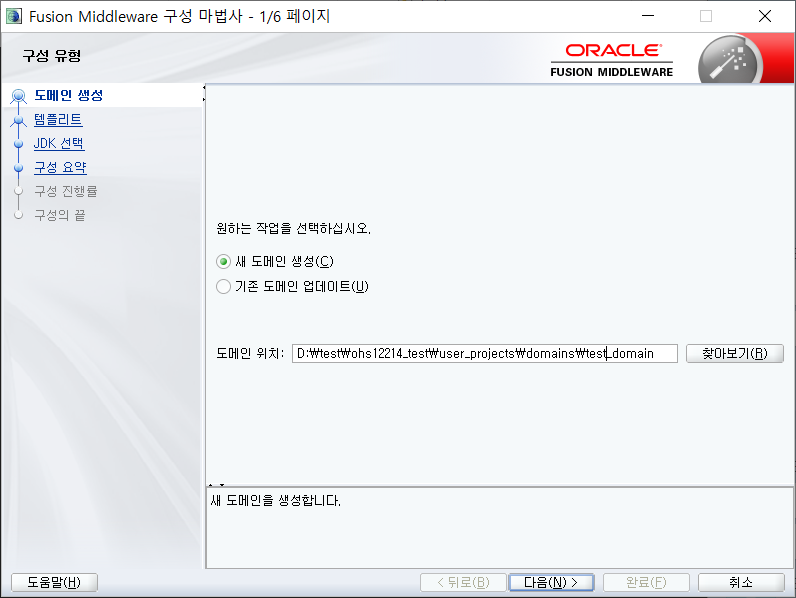
#04. Domain 구성
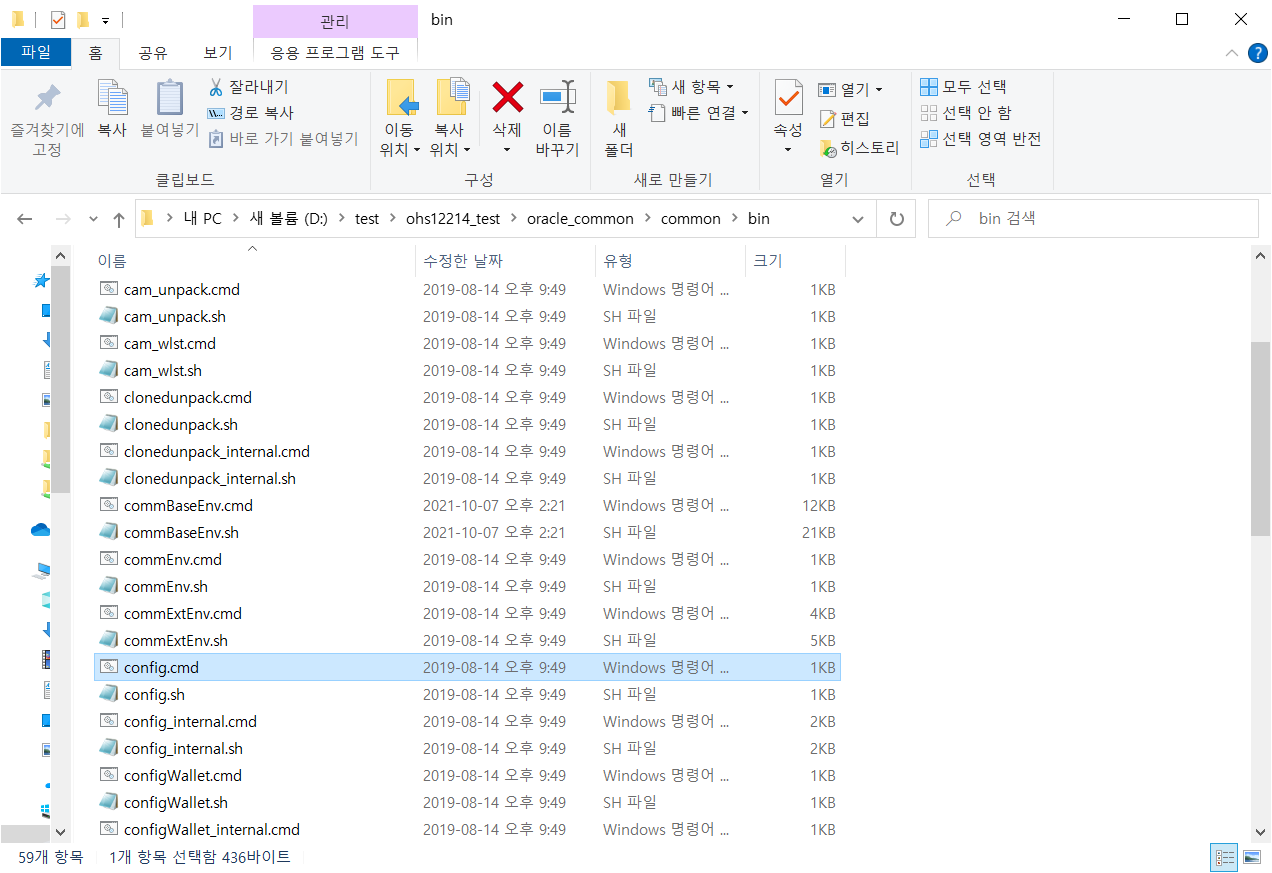
{OHS설치 디렉토리}\oracle_common\common\bin 디렉토리로 이동
config.cmd 실행
Domain 위치 지정
Oracle HTTP Server (Standalone) [ohs] 체크 후 다음으로 이동

JDK는 default값 사용

컴포넌트명 지정 후 다음으로 이동
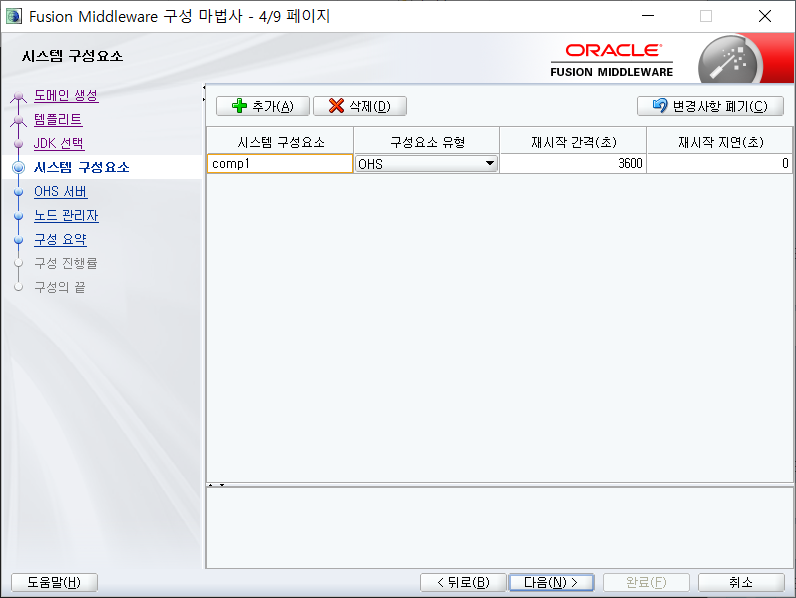
수신 주소 -> OHS 설치할 장비의 IP 주소 입력
수신 포트 -> HTTP 포트
SSL 수신 포트 -> HTTPS 포트

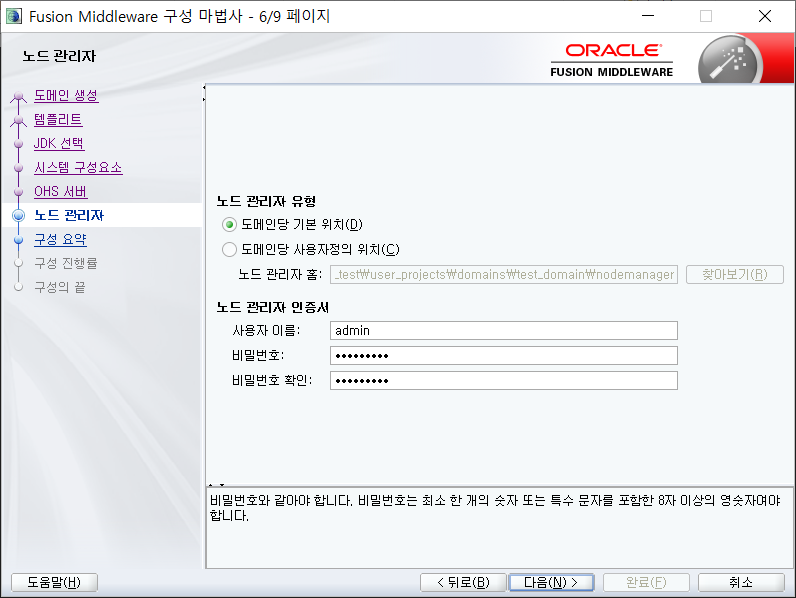
NodeManager 유저명과 패스워드 설정
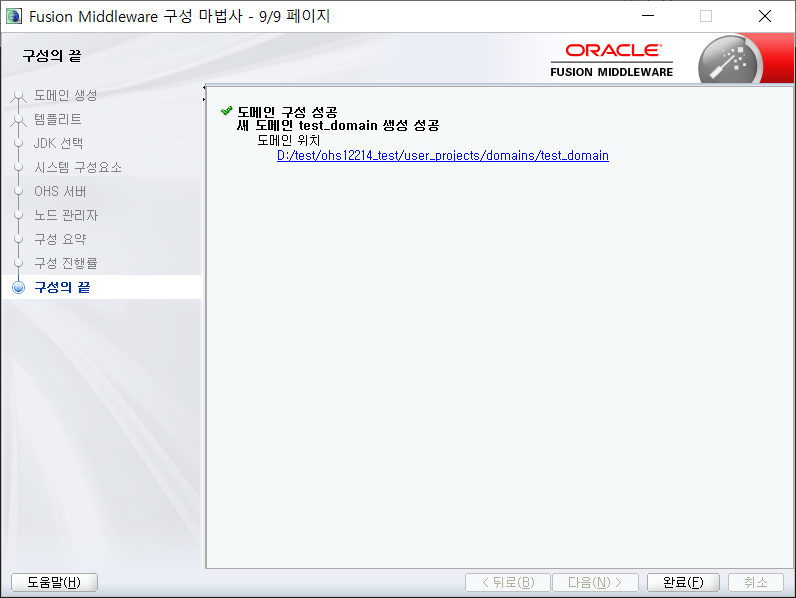
화면 하단의 "생성" 버튼 클릭하여 진행하기

Domain 디렉토리 위치 확인
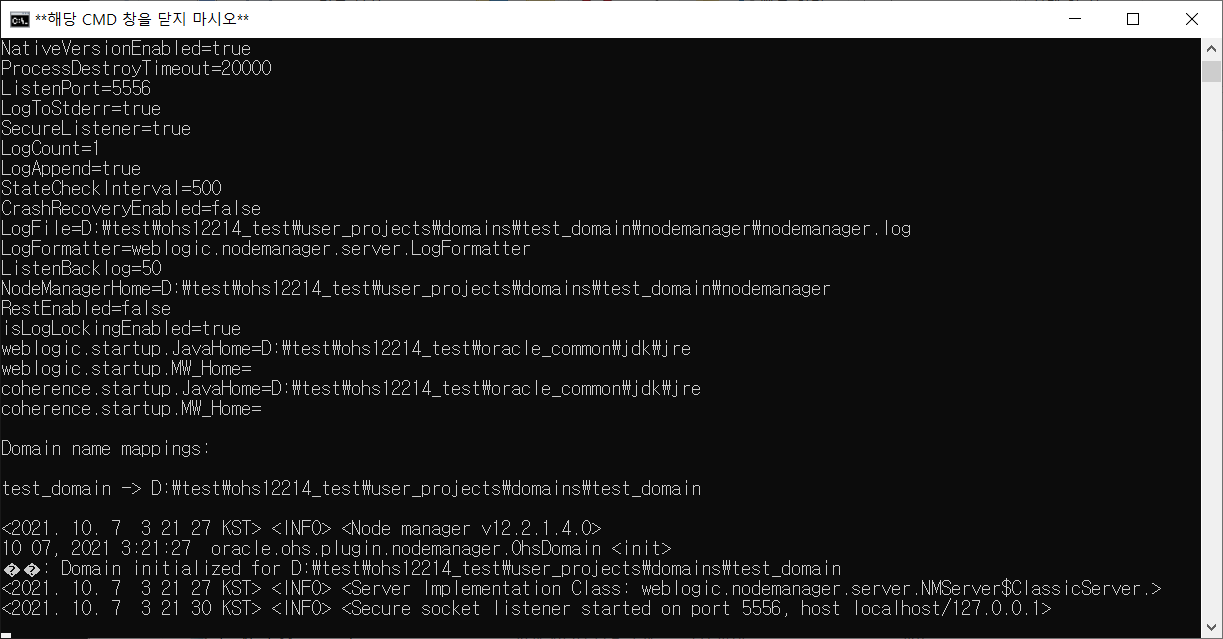
#05. OHS 서버 기동 - Nodemanger
Unix/Linux 환경과 다르게
Windows 환경에서는 NodeManager 기동 시 CMD 창에서 실행된다.
NodeManager 실행 CMD 창은 절대로 종료하면 안됨.
담당자가 실수로 NodeManager 실행 CMD 창을 종료하는 사고를 조금이나마 방지하기 위해,
아래와 같이 NodeManager 실행 스크립트를 생성한다
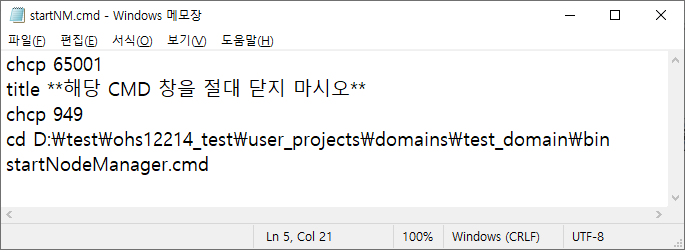
아래와 같이 CMD 타이틀 창에 경고 메시지를 작성할 수 있다.
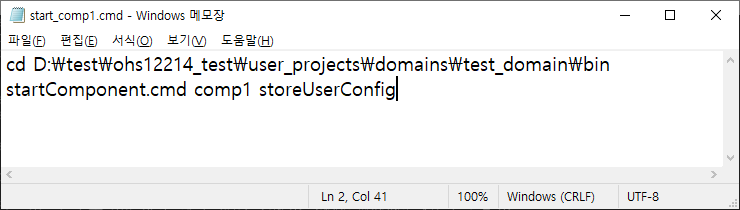
#06. OHS 서버 기동 - Component
Component 기동/정지 작업을 편리하게 하기 위해 별도로 스크립트를 생성한다.
아래와 같이 Component 기동 명령어를 작성한다
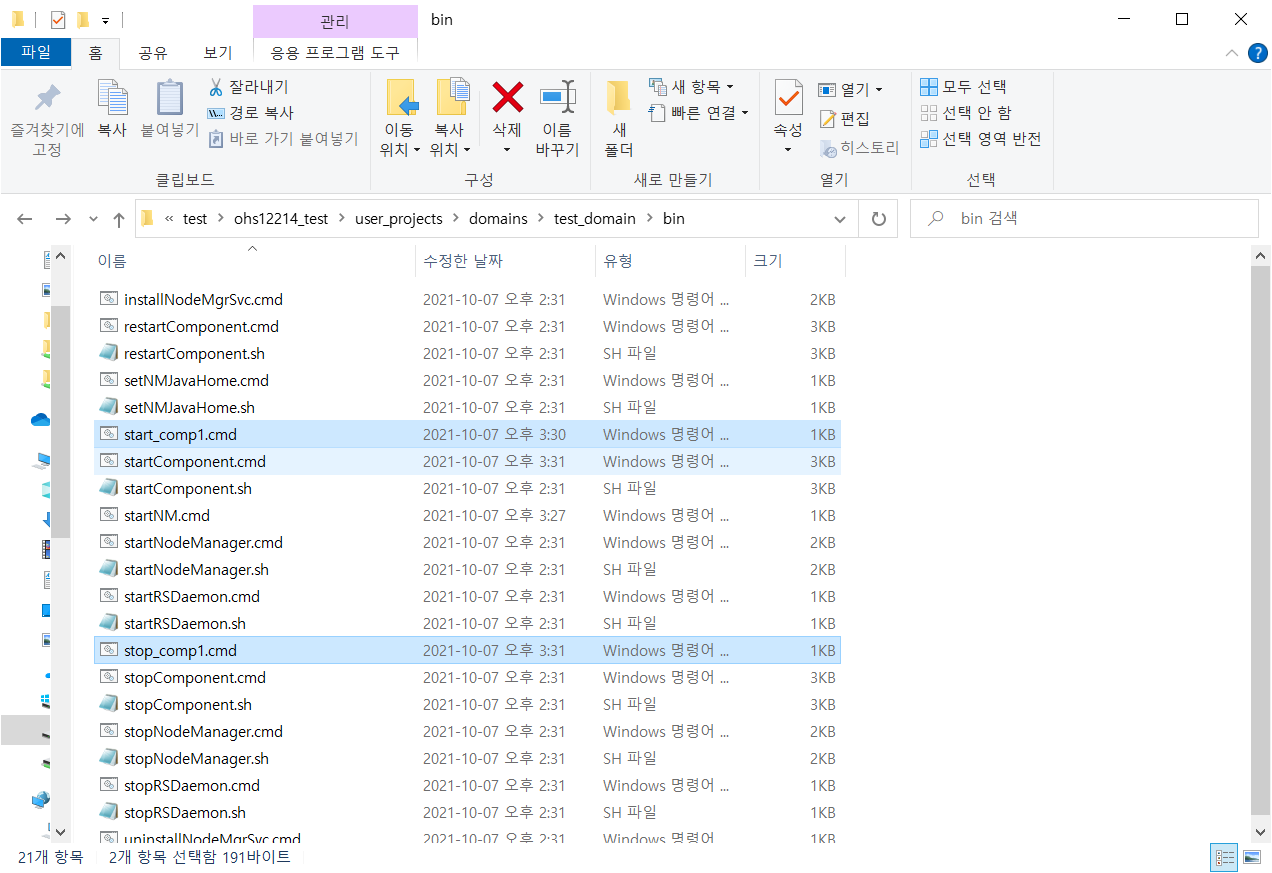
정지 명령어 스크립트도 생성한다

해당 스크립트를 클릭하여 실행한다
#07. Error Log, Access Log 설정 (rotation 설정 포함)
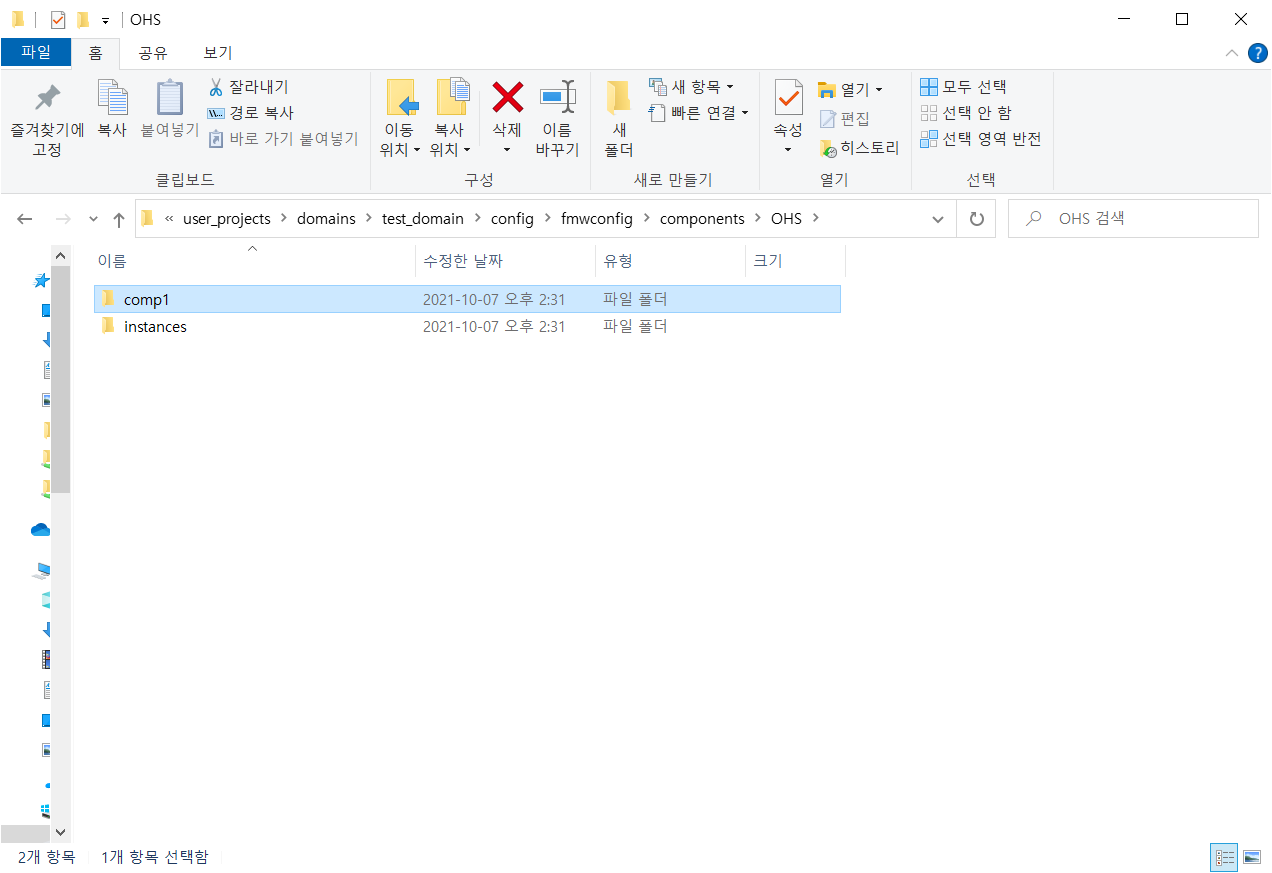
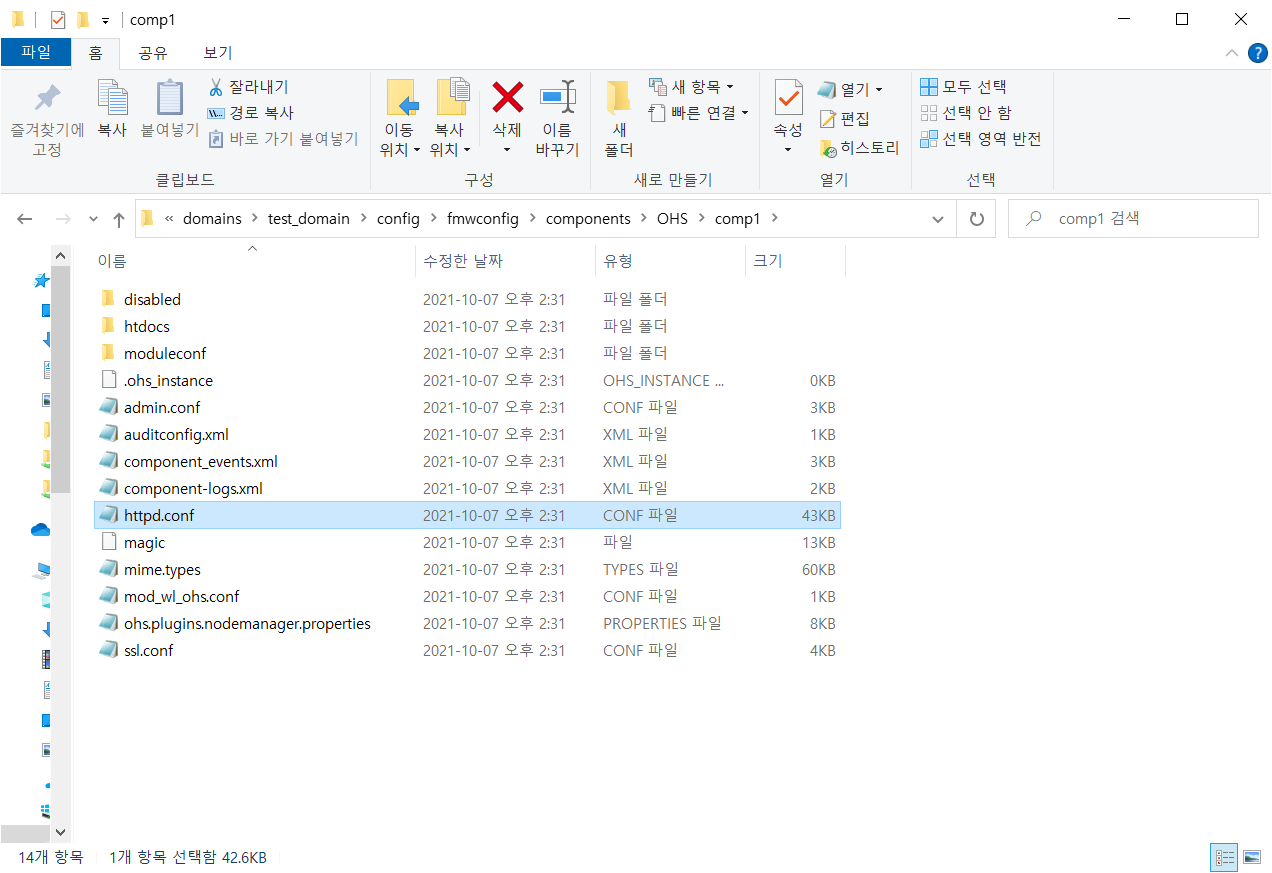
{DOMAIN_HOME}\config\fmwconfig\components\OHS\{컴포넌트명} 디렉토리 이동
httpd.conf 파일 수정
Error Log 경로를 설정해야 하는데,
디렉토리 경로 설정 부분이 Linux/Unix 계열에서 사용하는 방식으로 작성되어 있다.
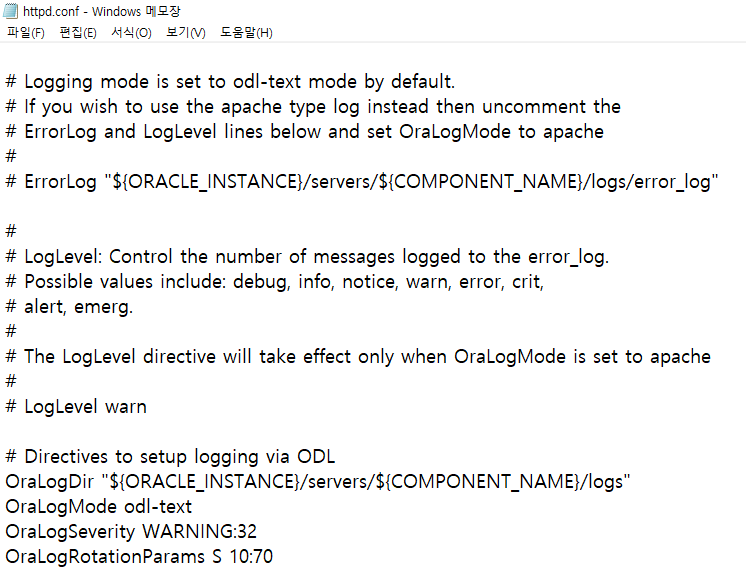
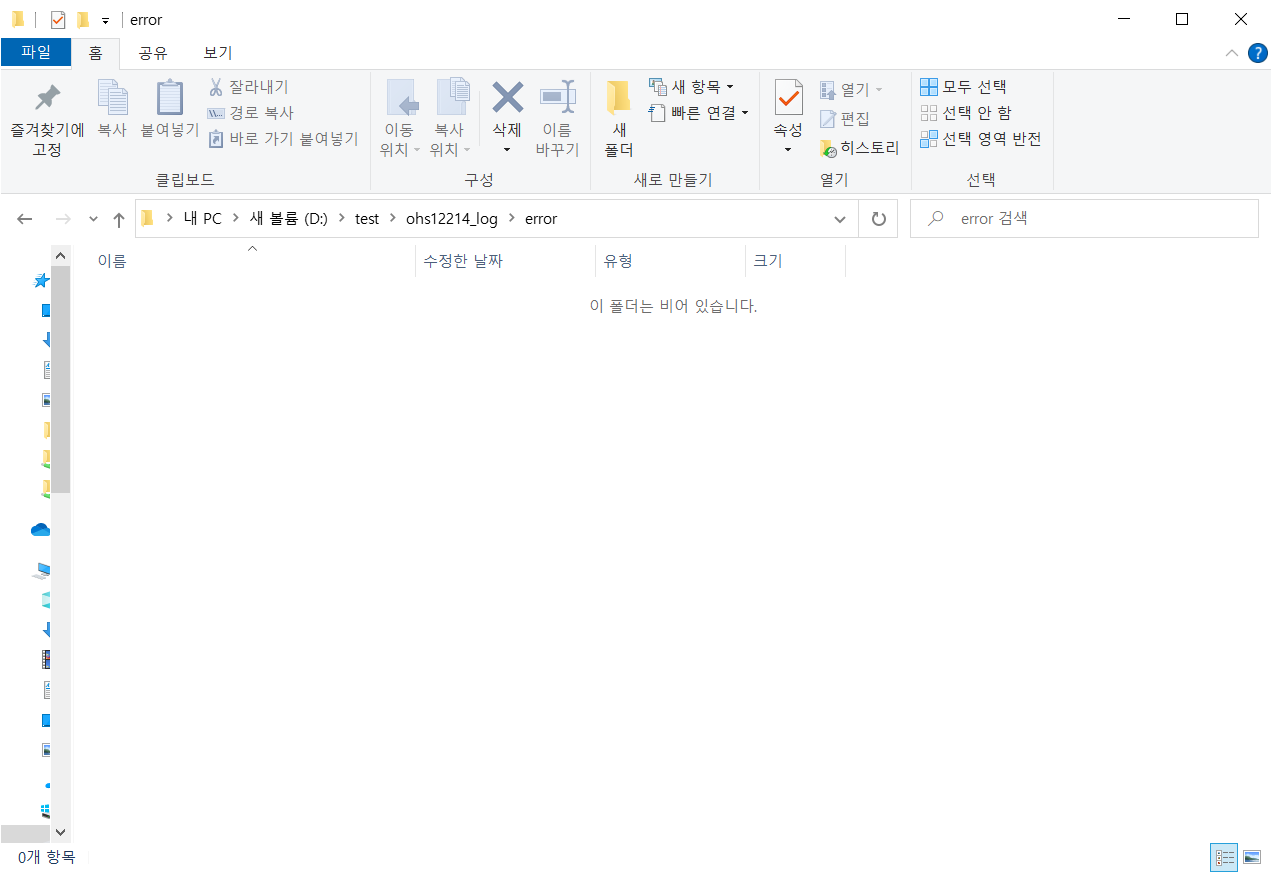
D드라이브\test\ohs12214_log\error 로 경로 지정하고자 할 경우
아래와 같이 "\" 에 해당하는 부분을 모두 "/" 로 작성하면 된다.
Log 파일을 24시간마다 rotation 시키기 위해 rotatelogs.exe를 사용한다.
그 외에도 LogLevel과 OralogMode 옵션값을 아래와 같이 세팅한다.

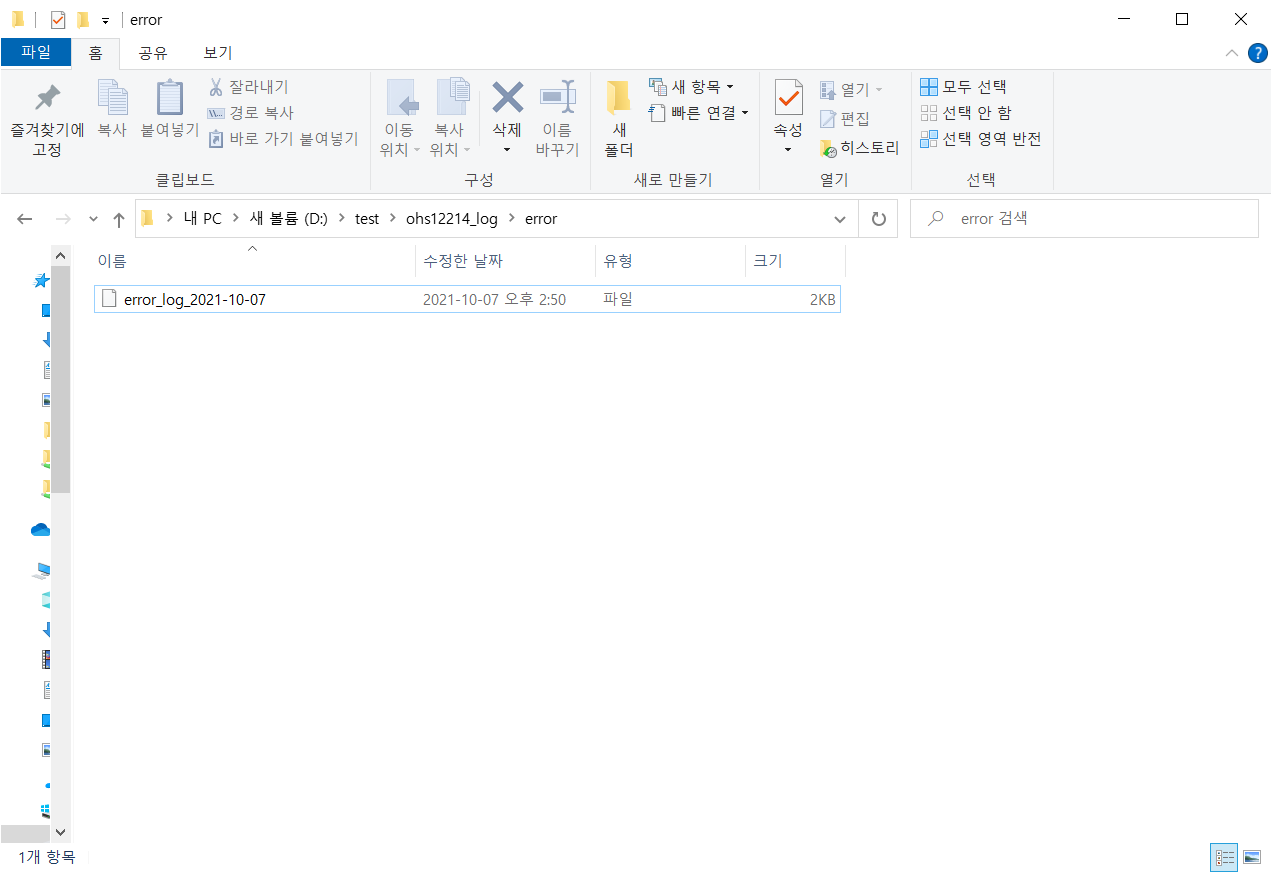
아래와 같이 Error Log 파일이 생성되었다.
매일 00시 정각에 rotation 된다.
Access Log도 동일한 방식으로 세팅한다

Access Log 파일 생성을 위해 아무 페이지나 호출한다.
아래와 같이 Access Log 파일이 생성되었다.
마찬가지로 매일 00시 정각에 rotation 된다.

'WEB - Apache 계열 > 설치' 카테고리의 다른 글
| [Apache] Apache2.4.* 설치 & SSL 인증서 적용 (Linux) (0) | 2021.08.17 |
|---|---|
| [OHS] OHS 12cR2 (12.2.1.*) 설치 - UNIX/LINUX 환경 (0) | 2021.08.17 |
| [설치] - OHS 12cR1 (12.1.3) (0) | 2021.08.17 |
| [설치] - OHS 11gR1 공통 (0) | 2021.08.17 |
| OHS 12cR1 (12.1.3.0) 설치 (0) | 2021.05.13 |

